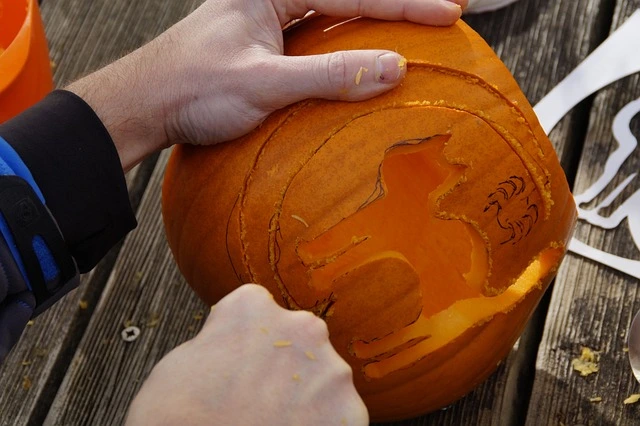
Pumpkin carving is a time-honored tradition that brings creativity and festive vibes to any home. If you’re a fan of pumpkin decorating without the mess of carving, check out our creative no-carve pumpkin ideas! However, I have to admit, no Halloween feels complete without the tradition of carving a pumpkin. It’s part of the fun and charm of the season!
So, If you’re ready to take your Jack-o’-lantern game to the next level, here are some small tips and tricks to keep them fresh longer and make your pumpkin designs stand out with recommended carving tools for a smooth experience.

1. Timing Matters for Fresh Looking
Carving your pumpkin at just the right time to ensure it stays fresh for the big night. Ideally, in cooler climates, carving a week to two weeks before Halloween is perfect. In warmer areas, wait just a few days before. I know it sounds too late, but for a fresh-looking carved pumpkin design, this is what we need to do! This will prevent premature rotting and keep your masterpiece looking fresh. Keep it in a cool spot, out of direct sunlight, and switch out candles for LED lights to prolong its life.
2. Skip Cutting on the Top of Pumpkins on
While it may be tempting to cut the top off, it’s better to avoid it! By cutting a hole on the top, you actually sever the stem, which keeps the pumpkin fresh.
Instead, you can carve from the bottom or back for better access, for taking guts out of the pumpkins and placing lights inside. This not only helps your pumpkin last longer, but it also keeps the design more clean and stable.
3. Lighting Magic

The type of lighting you choose adds a final touch to your creation. While traditional candles provide a warm glow, they can overheat and dry out the pumpkin faster. Instead, opt for LED lights or battery-operated tea lights, which are safer and won’t affect the pumpkin’s freshness. You can even switch up the colors for a spookier or more festive effect!
Easy Ways to Create Clean Lines in our Pumpkins Carving
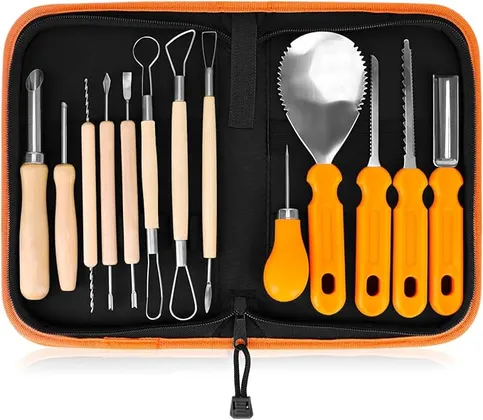
- For preventing mistakes and creating a perfect design, use a marker to draw your design before you start cutting. You also need the right tools to cut out and carving your pumpkin like a pro and add unique denials to your Jack-o’-lanterns. We found this complete-grade kit for those who want more intricate detailing. Includes 13 stainless steel tools, each tailored for precise pumpkin carving. From loop tools for smoothing and scraping to saws for precise cuts.

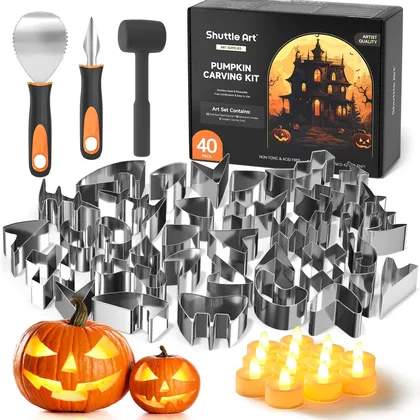
- If freehand isn’t your strong suit, try using pumpkin stencils for perfectly shaped patterns. Stencils help even beginners create intricate designs, from spooky faces to creative patterns. Investment in quality tools makes all the difference.

This kit comes with 22 stainless steel carving stencils, three durable carving tools, and 15 electronic candles.
Extend Pumpkin Life with Simple Hacks
Once carved, pumpkins can deteriorate quickly. Here are some hacks to keep yours fresh longer:
– Apply petroleum jelly or vegetable oil to the carved edges to lock in moisture and slow down the drying process.
– Soak your carved pumpkin in a water and bleach solution overnight to kill bacteria and mold spores.
– Keep it cool—placing your pumpkin in the fridge at night or during the day when it’s not on display helps to extend its life.
Last But not Least, Pumpkin Seeds!

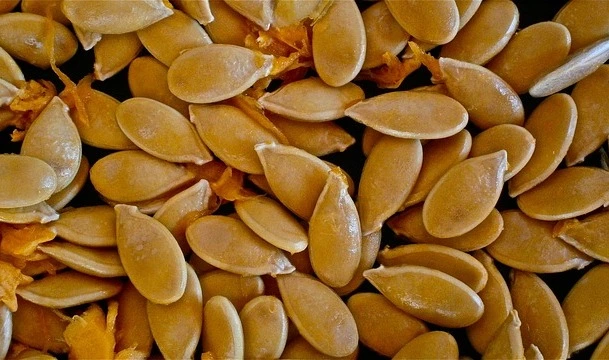
Once you’re done carving, don’t throw away the pumpkin seeds! Roast them for a delicious, healthy snack. Scoop out the seeds before carving, rinse them under water to remove the pulp, and spread them on a baking sheet. Drizzle with olive oil, sprinkle with salt, and bake at 350°F for 20-25 minutes.
The Halloween week has officially started, grab your carving tools, sketch out your design, and bring your pumpkin to life with these simple yet effective techniques!

Leave a Reply